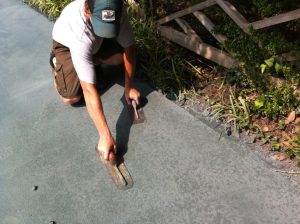
We start each project with a clean concrete slab. That can me anything from grinding the concrete with diamond grinders to pressure washing & etching the concrete with acid.
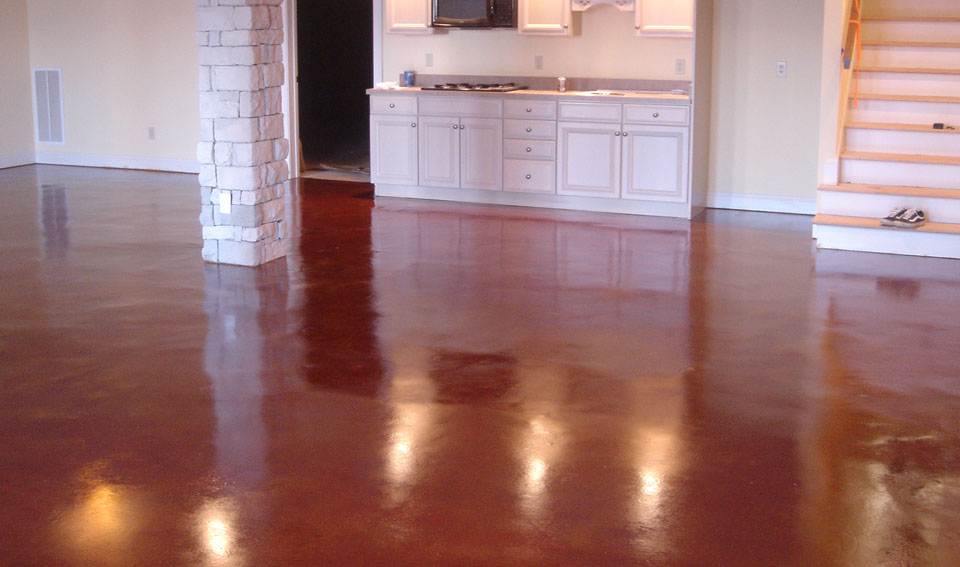
We apply a base coat. In this case, we used an off white color. This step can be skipped if the concrete is in good shape and our customer wants natural concrete gray grout lines.
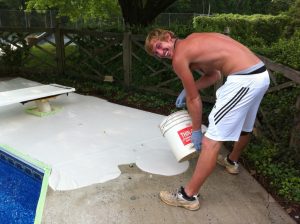
After the base coat is applied, we let it cure overnight and return the next day.

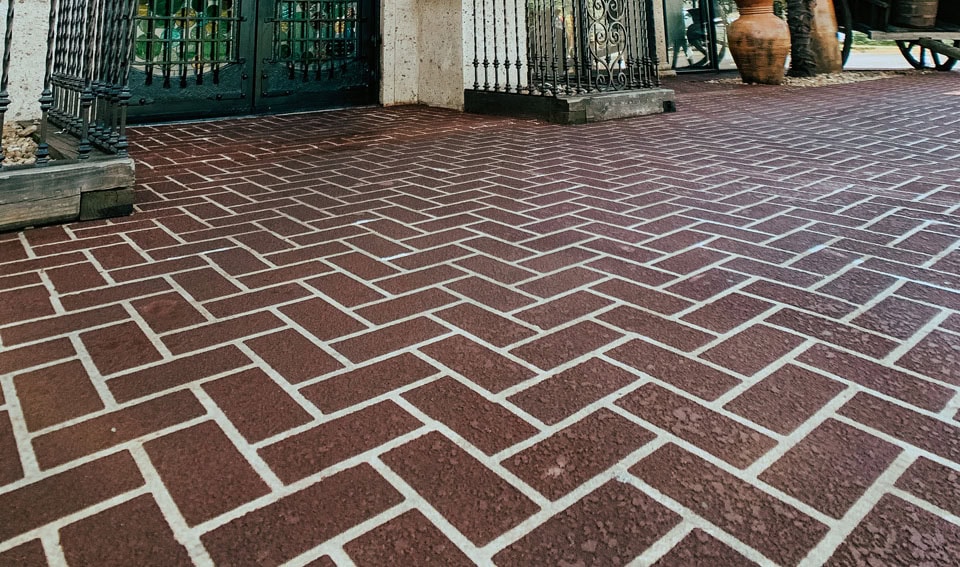
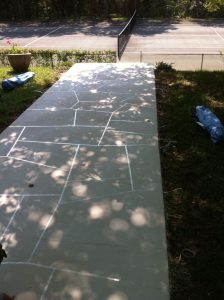
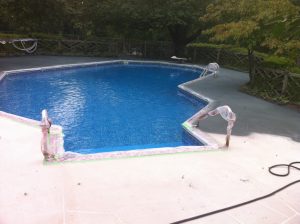
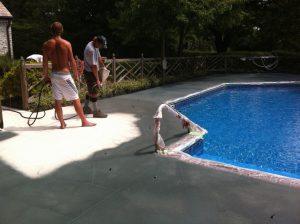
We return the next day, and taped a brick border on the edge of the pool. We sprayed the border with a brick red color, and then removed the stencil.

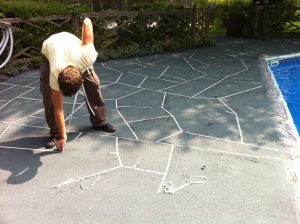
After we remove the border stencil, we mask the border off with plastic and apply a pattern to the rest of the pool deck. In this case, we used a taped custom flagstone pattern. We also have paper stencils that we use for patterns like rounded rock and brick.
After we tape the pattern down we spray one coat of a colored concrete grout mix on top of the stencil.
After the first coat is finished, we apply a second coat. The second coat is sprayed at a lower pressure, and we run a trowel over it to give it a knockdown texture.
After the entire pool is sprayed, we remove all of the tape and masking paper.
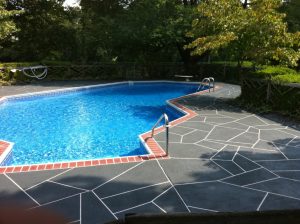
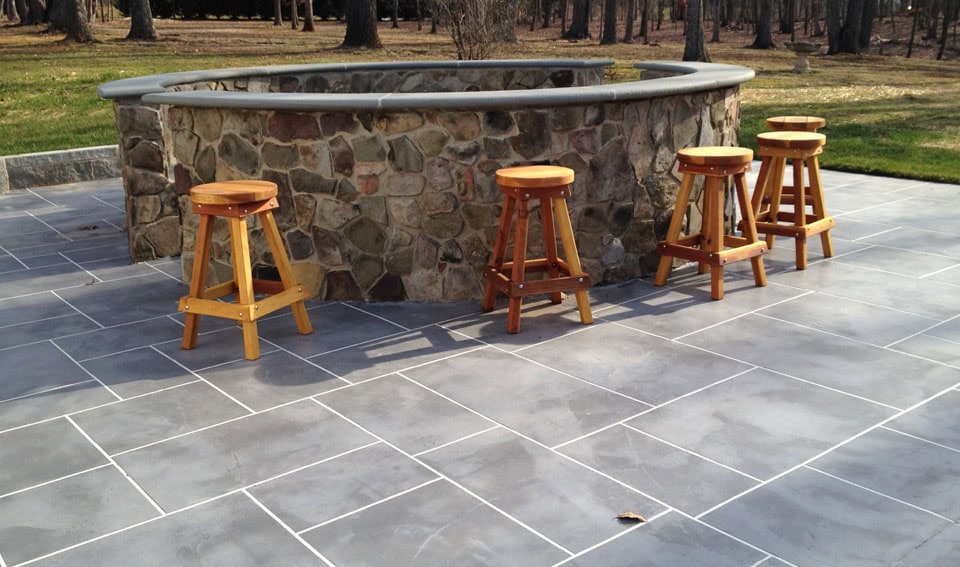
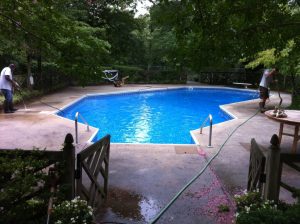
We return the next day to scrape and clean the entire surface. Then we apply clear sealer to the entire area. Here is a photo of the finished project.