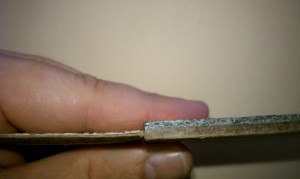
When we polish concrete, we start with an abrasive diamond, and work our way progressively through different grits to finer diamonds.
We typically start with a 50 grit diamond metal bond tool. The first grit will remove a large amount of material off of the floor, and prepare it to be polished.

After we grind the floor with 50 grit, we move up to about a 100 grit metal bond diamond. This purpose of this grit, and each grit after this one, is to try to remove scratches in the floor that were made by the previous grit.

After we finish with the 100 metal bond, we switch over resin bond diamonds. We make a few passes with a 100, 200, and 400 grit diamond.

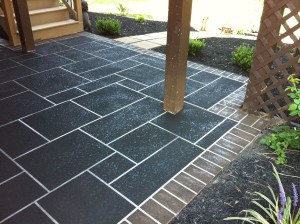
If the floor is going to be dyed, we typically apply the concrete dye after we make our 400 grit pass. The dye is mixed up with acetone or water, and applied with an HVLP sprayer (pictured), or more typically, an acetone pump sprayer.

Once the dye has dried, we apply a chemical called a densifier (not pictured). Densifiers are chemicals that react with the concrete to harden the surface of the floor. This process helps to close the pores of the concrete, and it prepares it to be polished.
Once the densifier has been applied, we can start the polishing process with a 400 grit resin bond diamond.

After the 400, we move up to an 800 grit diamond. This is the last step if you want a medium-sheen floor.

Optionally, we can continue polishing with a 1500-grit and 3000 grit resin bonded diamond pads. This will provide the highest level of gloss for a concrete floor.
After we have finished polishing, we apply a chemical called polished concrete floor guard. This product is not a sealer, but rather a chemical treatment that helps to protect the floor from staining. After the guard product dries, we polish it one last time with our high speed floor burnisher.